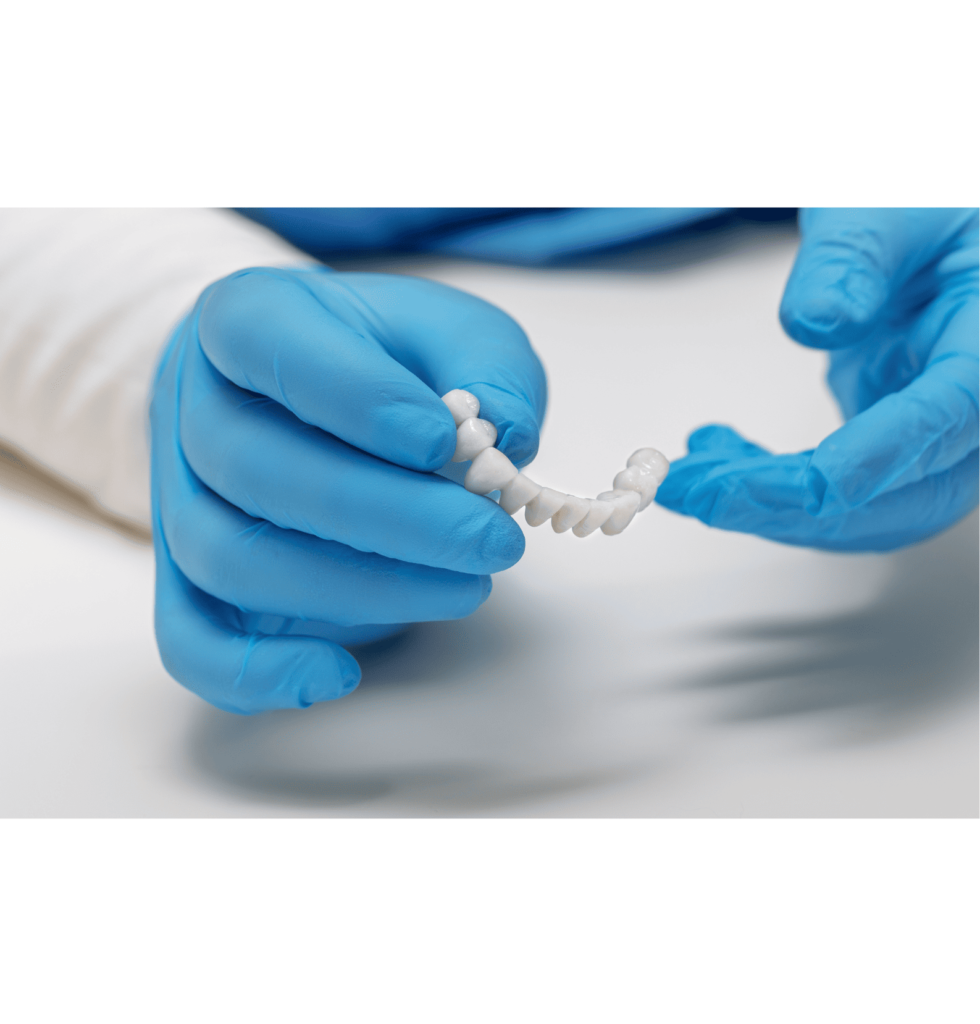
How to Make a Dental Bridge at Home
Following is the step-by-step procedure to make a dental bridge at home:
Apply Vaseline
The first thing you need to do is wear gloves and place Vaseline all over your tooth model.
Place Dental Composite
Take a little amount of composite and place it onto the tooth. The dentin dental composite A2 shade in color is the most popular natural shade that fits most people.
The dental composite will help you hold the replacement tooth. Press the composite down with your finger and gently adapt it to all surfaces. Make sure to place enough composite material in the gap until you have enough material to fill the gap and shape the material.
Don’t focus on the shape first, you have to ensure enough material to make the shape. Use your fingers to blend the material gently and once you have got enough material place your thumb behind the tooth to support it. Repeat the same thing and make sure that the material blends nicely into the gum margin.
Setting Material
Once you’re done with the shape and smoothness, you have to just set the material by using dental bridge glue. Apply the glue to the inner surface of your tooth bridge and then press onto the prepared teeth. Use UV light cure for one minute on each side. Once the material is set, gently use a spatula tool and push the resin bridge out.
Brushing Surfaces
This is the final step where you brush the surfaces of the bridge. Use dental UV bond to give it a glossy and smooth finish. Before setting with UV light for one minute on each side again. Use your spatula tool to push the resin bridge off the model gently.
Is Homemade Dental Bridge Worth it?
Most of the time a homemade dental bridge is not worth the risk. The fabrication of dental bridges requires precision in measurements, materials, and fabrication techniques, which are skills only dental professionals possess. Creating a dental bridge at home without proper expertise can lead to serious harm like damage to teeth, gums, and overall oral health.
Also, homemade solutions can result in long-term costs due to the need for corrective treatments or replacements. Homemade dental bridge can be a temporary fix for dental bridge but It’s very important to prioritize your oral health by getting treatment from a qualified dentist who can provide appropriate care in a safe and controlled environment.
What is Included in Homemade Dental Bridge Kit
A homemade dental bridge kit usually consists of:
- Dental composite and trays.
- UV light.
- A dental spatula tool.
- Dental bridge glue.
- Dental UV bond.
- Dental floss.
- Instructions or guides.

How Dental Bridge Glue Works in DIY Homemade Bridges?
Dental bridge glue works by providing temporary adhesion between the dental bridge and the prepared teeth. This adhesive typically contains materials such as resin, which can bond to both the dental bridge material and the tooth surface.
How Much Does it Cost for a DIY Dental Bridge?
DIY dental bridge kits range from $20 to $100 or more. The cost depends on factors like the quality of materials, brand reputation, and included accessories.
However, it’s important to note that while DIY kits may seem cost-effective initially, they cannot provide the same level of quality, fit, and longevity as professionally fabricated dental bridges.

